
Help
and How-to
Help
and How-to
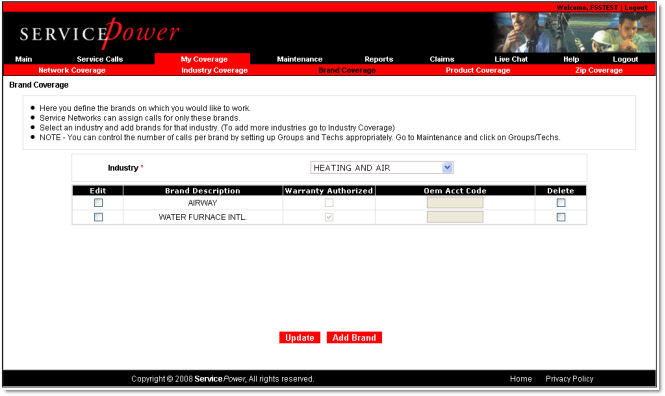
The Brand Coverage screen lists brands by industry categories according to your assumed profile. You must specify the industries you service before you can specify the brands you service. See Industry Coverage.) You will receive calls for any brands in this list. The default information may or may not be your most current. You should review it and correct it by deleting or adding brands for which you want to receive calls. See instructions below.
Be sure to update this information as your coverage changes to help ensure that the calls you are sent are the calls you should receive!
Look at the five columns of data for each brand:
Edit -- This check box makes the row of data editable.
Brand Description -- Identifies the brand.
Warranty Authorized -- Indicates whether you are authorized for warranty work. Make sure this box is checked if you are a warranty authorized service provider.
OEM Account Code -- Account ID issued by the OEM. Make sure this number is accurate.
Delete -- This check box allows you to remove the brand from your coverage.
Notice, the Delete column on the right is not for adding brands. The Add Brand button at the bottom of the screen is.
Under My Coverage, click Brand
Coverage.
The Brand Coverage screen appears.
Brands that appear on this screen, are those for which you receive
calls.
Select a checkbox in the Delete column corresponding to a brand and click Update.
Click
Add Brand.
The Add Brand window appears.
Select a brand from the drop down list. If you need a brand that is not listed, contact Customer Service.
Click Save if you are done.
--Or--
Click Add to add another
brand.
Continue as necessary.